|
The Frame
|
Step 2: Putting the spine together

1. Put the central-T and an end cap of 6 mm on the spine. A piece of a small garden hose is ideal to keep the central-T in its place and absorb shocks when the kite crashes on the nose.
|

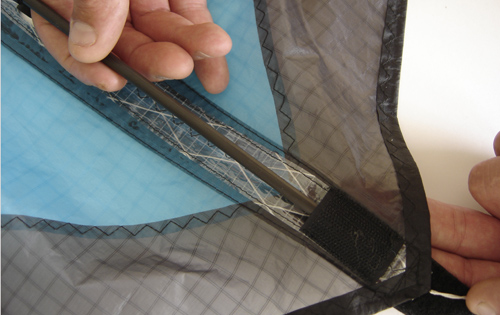
2. Slide the spine in the spine tunnel with the end that has no end cap on it.
|
|

3. Now pull the spine down as far as needed to allow it to slide in the nose bag.
|
|

4. The central-T is pushed through the opening that's provided.
|
|

5. Put a FSD-end cap or a Split nock on the bottom end of the spine and hook the leech line in the fitting.
|
|

6. Fold the Velcro over to tension the spine
|
|